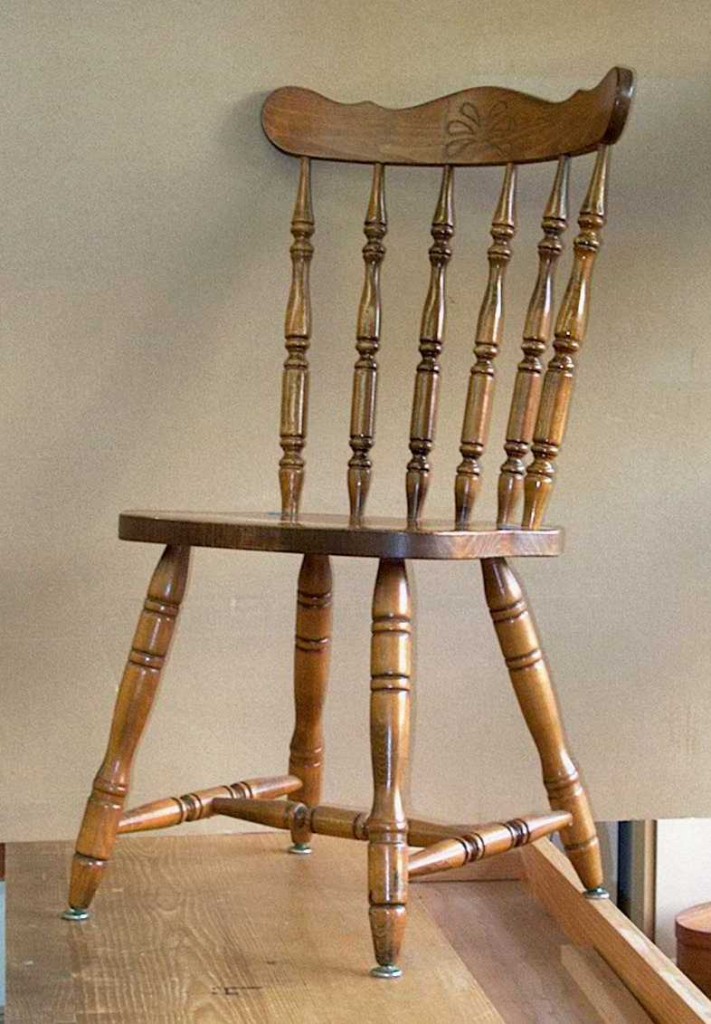
 This chair came from my mother’s apartment when she moved to a senior living center. Its joints were loose when she had it, and kept coming apart when I lifted it injudiciously. Although I build new rather than repair repair old furniture, yesterday I decided to investigate. It is comfortable at my computer desk and I hope to continue using it for several years,
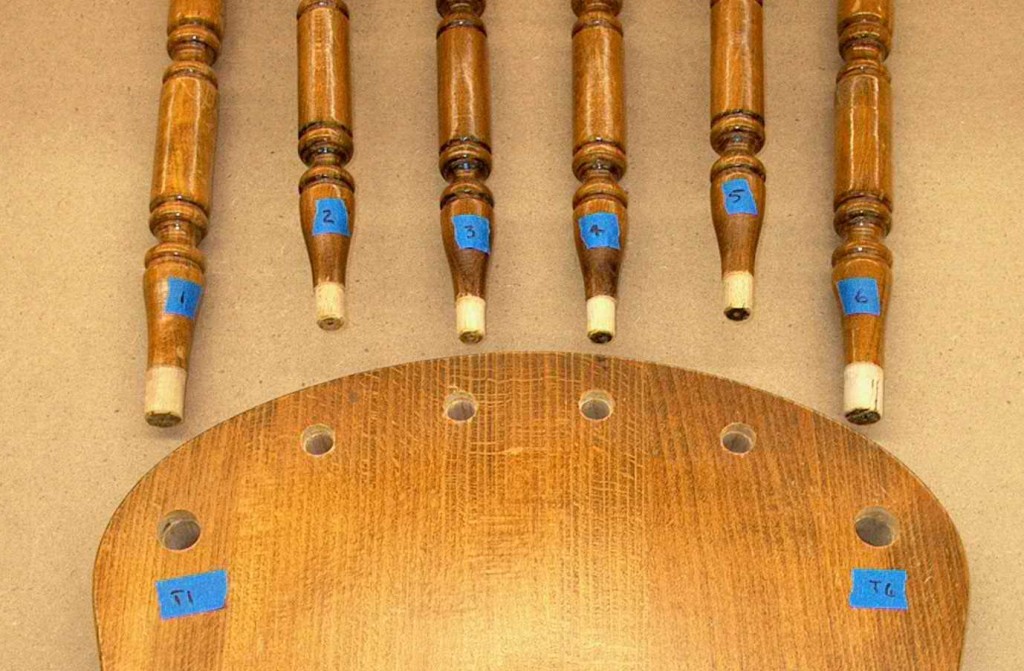
 After carefully labelling everything. I began to disassemble loose joints. All but seven of the twenty-two joints came apart. The above picture shows the drilled holes, called mortises, in the top of the chair seat and the light colored tenons at the bottoms of the chair back spindles.
Examining these and the disassembled joints below the chair seat, it became obvious that the joints were “glued” by squirting glue into the bottoms of the mortises and then inserting the tenons. The rationale may have been that glue would be forced up around the sides of the mortises and tenons, but that happened only a few of the fifteen disassembled joints, and even there only on a portion of the surface area of those joints.
Regardless of the glue used, for the strongest possible joint the adhesive must be worked onto all joint surfaces. Spreading glue simply by bringing together the parts of a mortise and tenon joint does not work the glue onto the entire area of matching surfaces, so the joint has diminished strength. (In an article a year or two ago Popular Woodworking magazine clearly demonstrated this using a rectangular motise and tenon joint, where one side of the mortise was clear plastic.)
It is widely recognized that glue does not bond well to end grain. For the majority of the disassembled joints in this chair, the only glue contact with the tenons was on their ends, which of course is end grain.
Finally, the excess space at the bottom of a mortise is designed to provide space for any glue forced to the bottom when the tenon is inserted, and should not be filled with glue. In the procedure used on this chair (and others I have seen) all of the glue is first squirted into the bottom of the mortise. When the tenon is inserted this filled well creates hydraulic pressure resisting full insertion of the tenon, and perhaps permanently holding the tenon slightly proud.
Although the parts of mother’s chair were machined well and attractively finished, failure of the joinery was guaranteed due to the poor glue application. Gently used, and with finish contributing some additional slight joint strength, such chairs might last a year or two, but the joints will fail.
Effective chair repair requires proper adhesive, tools and experience. Simply squeezing some more glue around an exposed joint and pushing it home won’t make a lasting repair, and will make effective repair more difficult and expensive.
If you have a wobbly chair you want repaired, perform diligent research by soliciting referrals from friends, interviewing repair businesses, and getting estimates. Expect to pay at least $100 for re-gluing the most basic chairs, more for chairs such as this one with extra joints. If the chair has upholstery attached to the chair itself (rather than a seat insert) the upholstery will have to be replaced after re-gluing.
Factory-made chairs can be unbelievable bargains in the store, but re-gluing or replacement should be part of the purchase calculation. For any set of new chairs, one might want to plan for replacement or re-gluing of at least one chair every year. If subjected to stronger use, the time period should be six months. Effectively re-glued and not abused, the chair should provide many years of service.
Please let me know of other topics you would like to see covered in future posts.
